
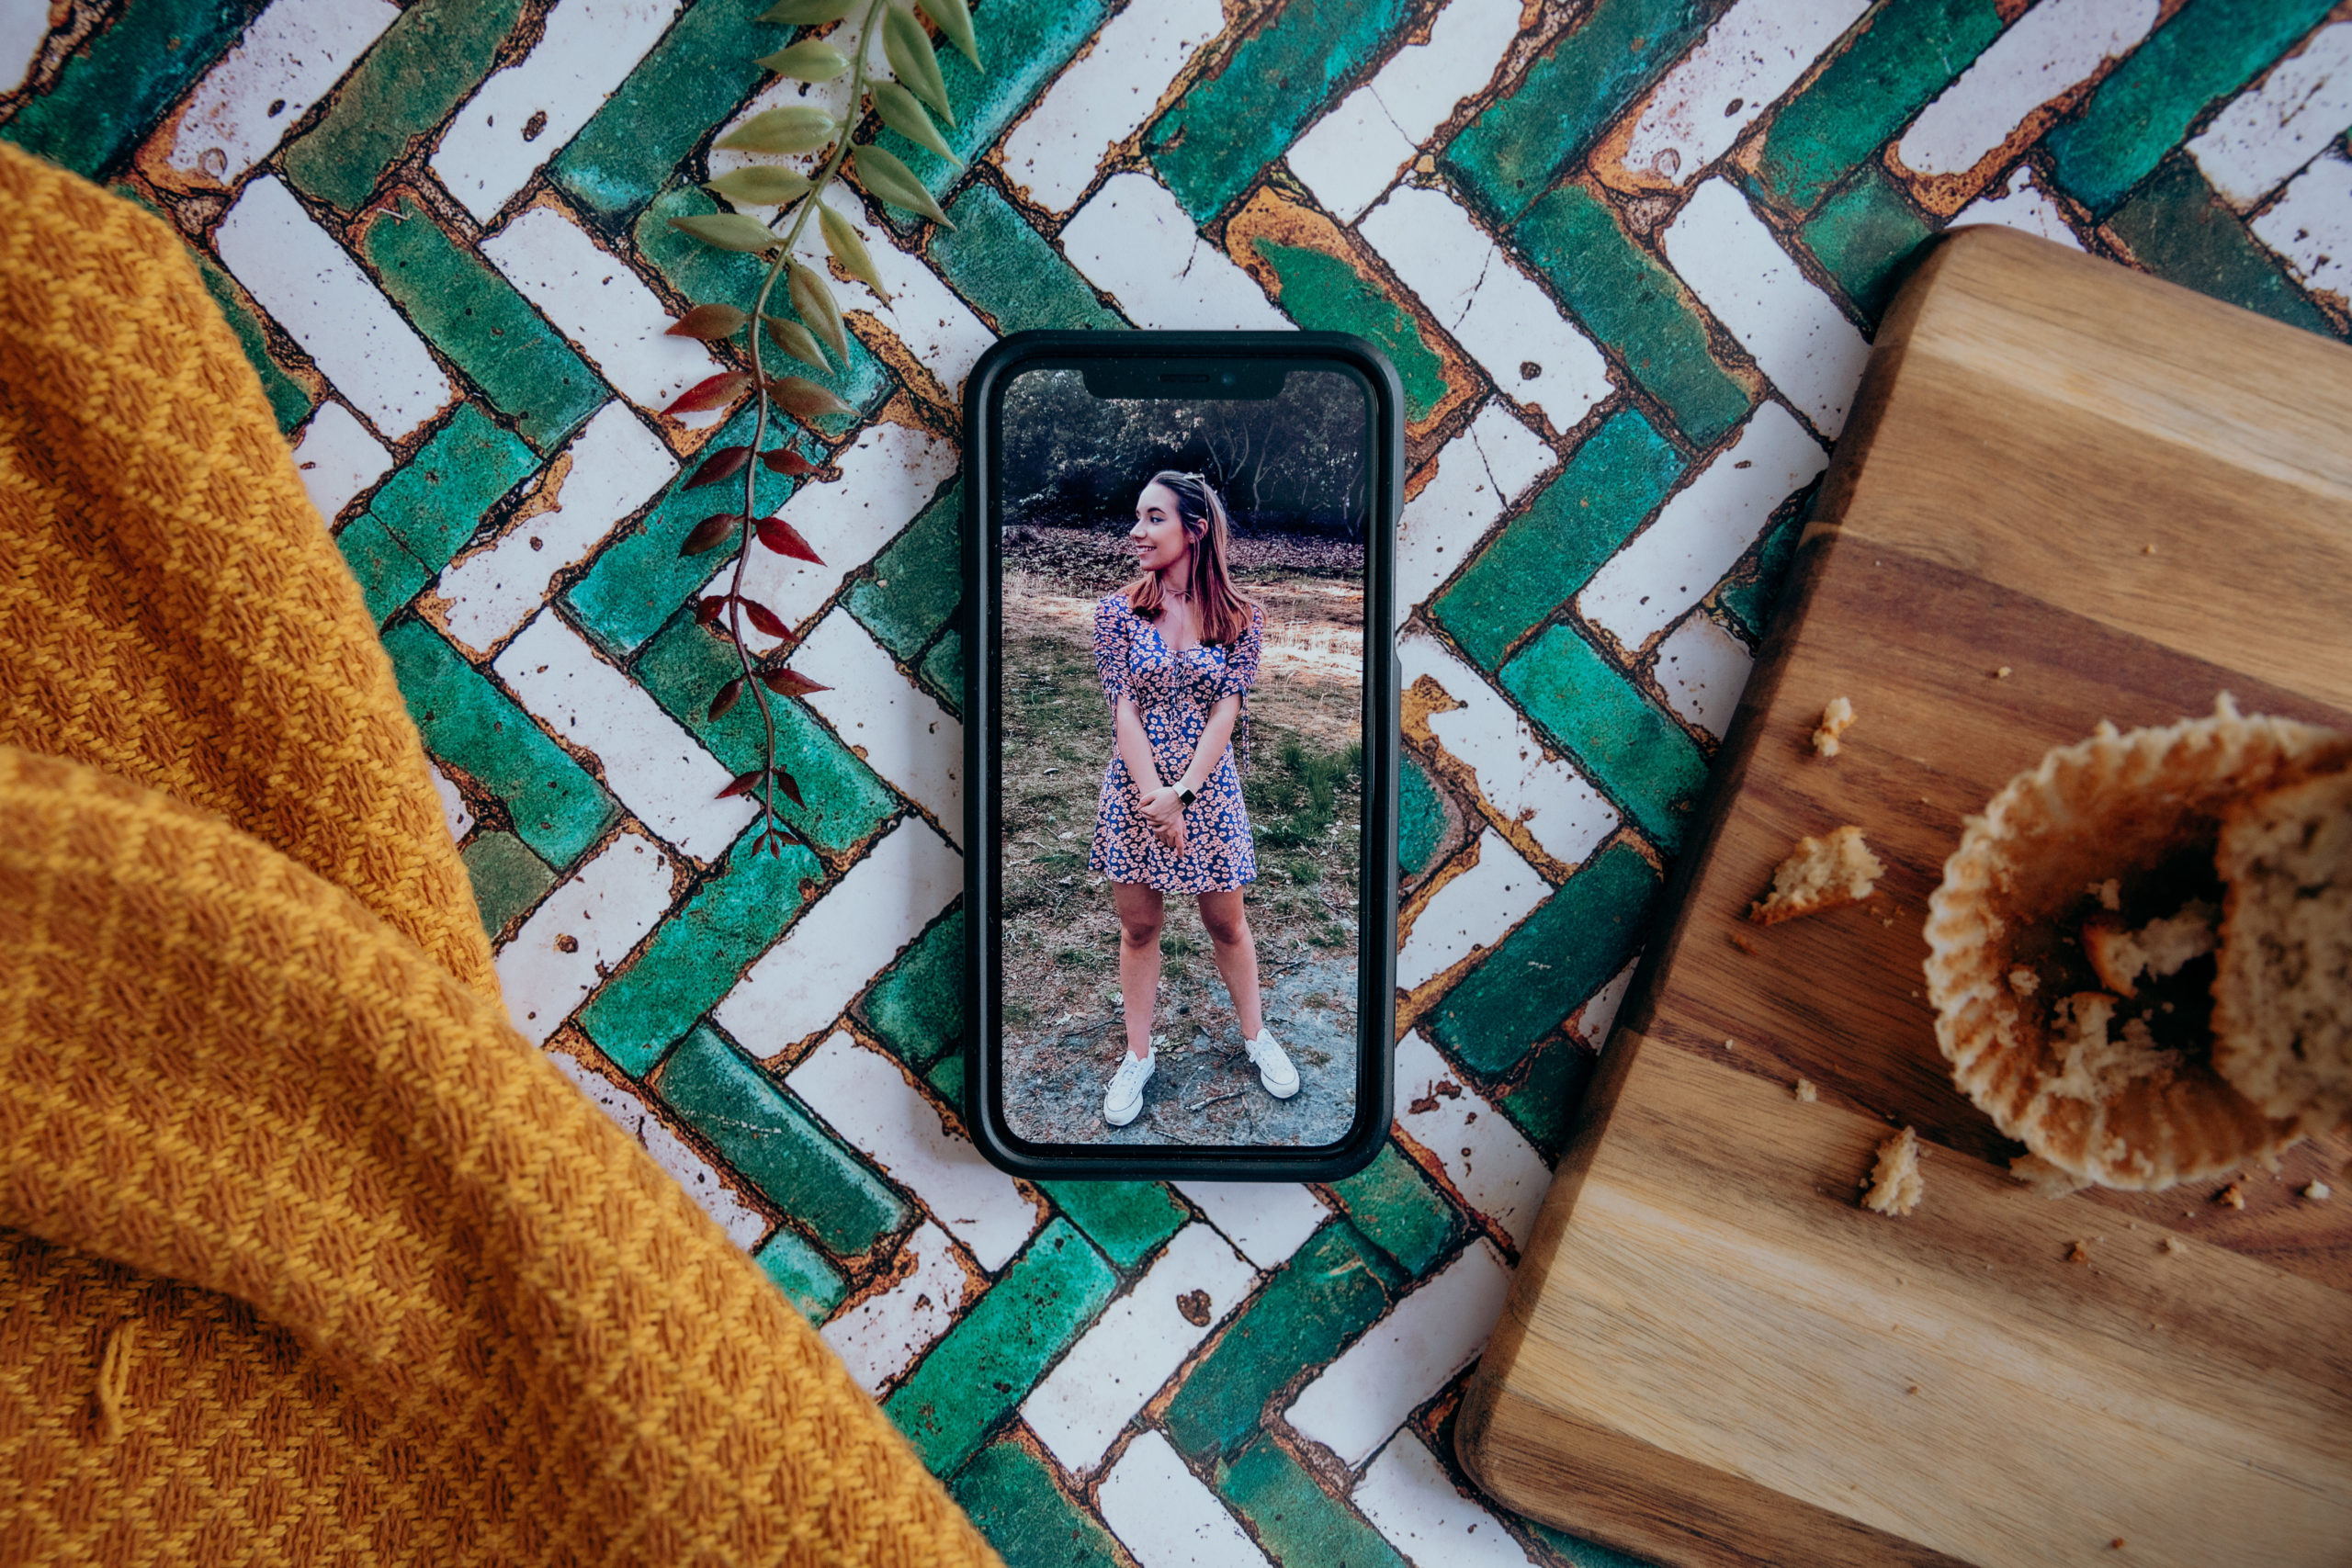


Not all of us have all of the equipment that some of the top bloggers have. But that shouldn’t mean the quality of the content you create should suffer. Once you get the hang of it, mobile photography can be just as good. These days, the quality of the camera on your phone is more than enough to create banging content and outfit photos for your Instagram and blogs – you just need to know how to use it.
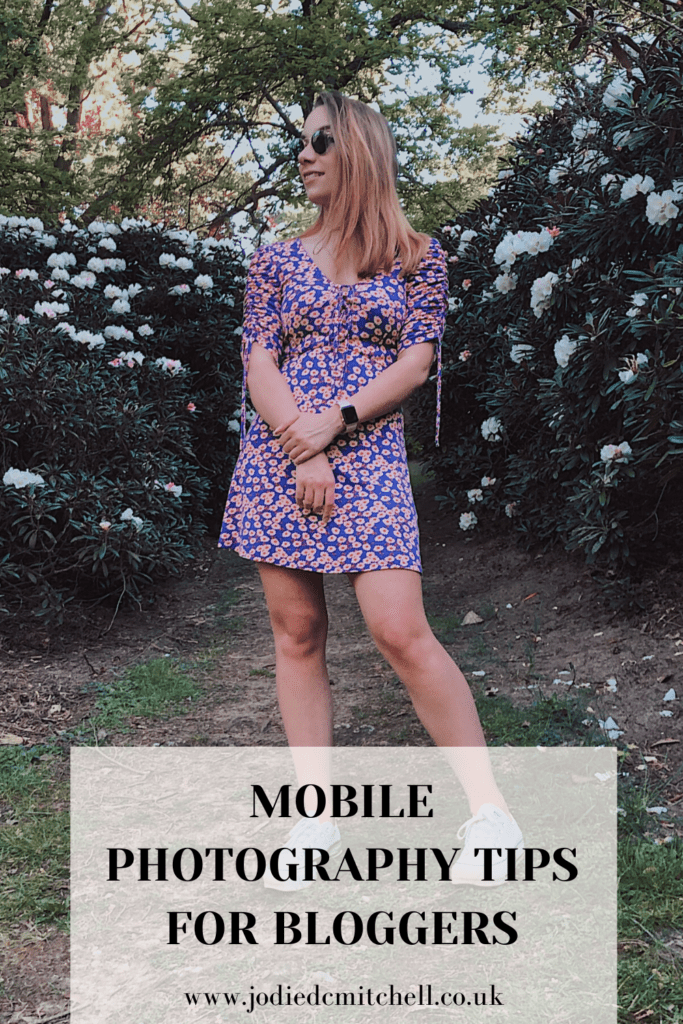
Here I’ve put together some tips to help you improve your outfit photography using just your mobile. All photos in this post were taken on mobile by my lovely boyfriend under my direction using these tips. So if he can do it, anyone can (no offence hun). There are three main things to consider: lighting, angle and framing.
Lighting
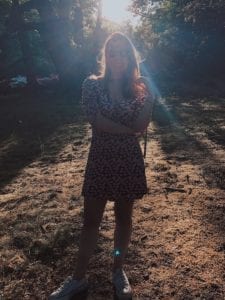
Since mobile phone cameras can’t hold nearly as much data as a true RAW file (don’t get me started on the RAW mobile apps), the lighting of your images is the foundation to a good outfit shot. Shade is the god tier of lighting conditions. A nice even bit of shade on a bright day will make sure your image is evenly exposed and true to colour.
Direct light can be slightly tricky in mobile photography. This is because it can make everything too bright if it’s a really sunny day and can leave you looking over-saturated.

Try to avoid lighting images from the back. Mobile photos can’t hold as much data as a RAW image that you’d take on a DSLR. Because of this, your phone won’t know what to expose for and you’ll either end up with a blown out sky or underexposed subject. With a DSLR you could create some beautiful effects, but mobile photography just can’t handle it.
Angle
Angle plays a huge part in the composition of your image and the effect of an overall image. There are three different angles that people instinctively take, so it’s important to know which is right for you.
Standing Shots
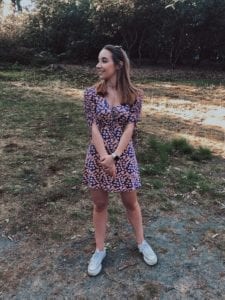
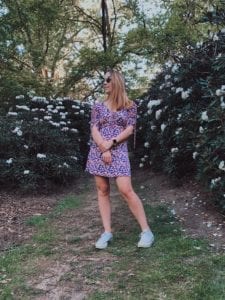
When you ask people to take a photo of you, chances are they’ll go to one of two positions. They’ll either stand exactly how they originally were and quickly snap a photo, or drop to the ground and go full “tourist mode”. We need the middle ground. Shooting too low will distort you, and can look a bit unflattering and ~up your nose~. Shooting too high will look fine. But fine isn’t what we want. Shooting from high up can put too much of the ground in the image, so you can end up getting lost in the background and lose the emphasis on you. It’s fine for a quick snap, but you want the eye to be attracted straight to you.
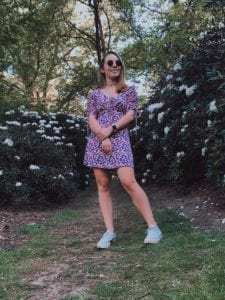
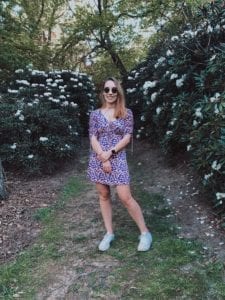
The middle ground between the two is the perfect angle. This ensures the focus is on you, while also making sure your legs don’t look about 2ft too long and that you can’t see your brain up your nose. The perfect angle is to line the camera up with your torso and make sure your phone is being held completely straight.
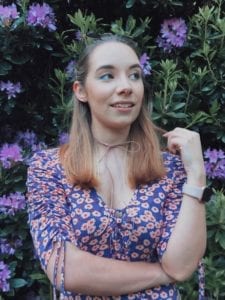
Torso Shots
The same theory applies to torso level close-up shots too. However, aim for the collarbone instead of torso as you’ll only be capturing the top half of your body. As you’ll be taking photos closer distance than standing shots, you might find your images look a bit stiff. Leaning over towards the camera very slightly will help eliminate this and make your photo softer and more cohesive.
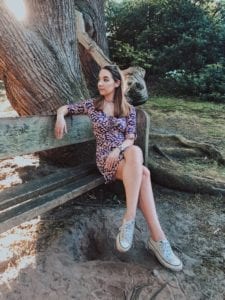
Seated Shots
Seated shots are less about all the camera magic, and more about your pose and position. Once again, you’ll need the camera to be pointed at your collarbone for torso shots and torso for full body seated shots. But the real magic is in how you sit. Sit forward on the seat, to the point where your backside is barely hanging on, and straighten your back. From there, point your toes. However you’re sitting. This will elongate your legs and create beautiful, flattering lines.

Framing
Instagram loves to ruin a decent photo with its 4:5 ratio. So bear this in mind when you’re taking your photos. Leave enough room and negative space so you won’t cut your legs or head off when IG tries to crop it down. Always shoot wide. It’s better to have more space that you can then crop down, than not leave enough room and then lose the top of your head.
And there you have it, my top tips shooting content on mobile. I know this doesn’t include editing, which in itself is a HUGE part of mobile photography. But I’ll be creating a whole post going through mobile editing, so keep an eye out!
If you’re looking for professional photos for your Instagram or blog, you can take a look at my alternative fashion photography work here. And if you’ve tried out these tips, come and show me over on Instagram!


While you're here...
I'm Jodie! An alternative and vibrant wedding photographer based in Berkshire.
I'm a crazy cat lady, indie music lover and English Breakfast Tea obsessionist.
When it comes to weddings I love love love all things untraditional. When couples do exactly what they want for their big day - those are my favourites to shoot.
I've shot over 100 weddings in the last few years, so I've learned a trick or two that I've been compiling in this blig!