


A flatlay can be a challenge for just about everyone when you first start putting them together. I know when I first tried, I just couldn’t seem to make them look as good as everyone else’s. There always seemed to be something that wasn’t right. Many hours of trying and failing later, I started to get the hang of it. Practice and experimentation will take you far when it comes to these sorts of photos, but I’ve also put together a few handy tips that should fast track you to insta-success.
Lighting your flatlay
There’s a reason us photographers are always banging on about natural lighting. That’s because it’s the god-tier of all lighting. Natural light gives this beautiful, clean, even lighting that will really make your images POP.
Always try to set up your flatlays up by a window if possible. I’ve even been known to set up outside before. This will make sure everything in your flatlay is lit evenly and is true to colour, saving on editing time later. Which is always a treat. And if you’re still struggling to get your light completely even, bounce a bit of light back into your image using a reflector. If you don’t have one, using a white piece of card or polystyrene board will work as a make-shift solution perfectly, no need to splash out on a proper one.
Choosing the background
The background of your flatlay acts as your foundation to build on. You want to complement and contrast, and not distracting from the items in the image. This will also help you achieve a beaut instagram feed, as it will make up the majority of your theme.
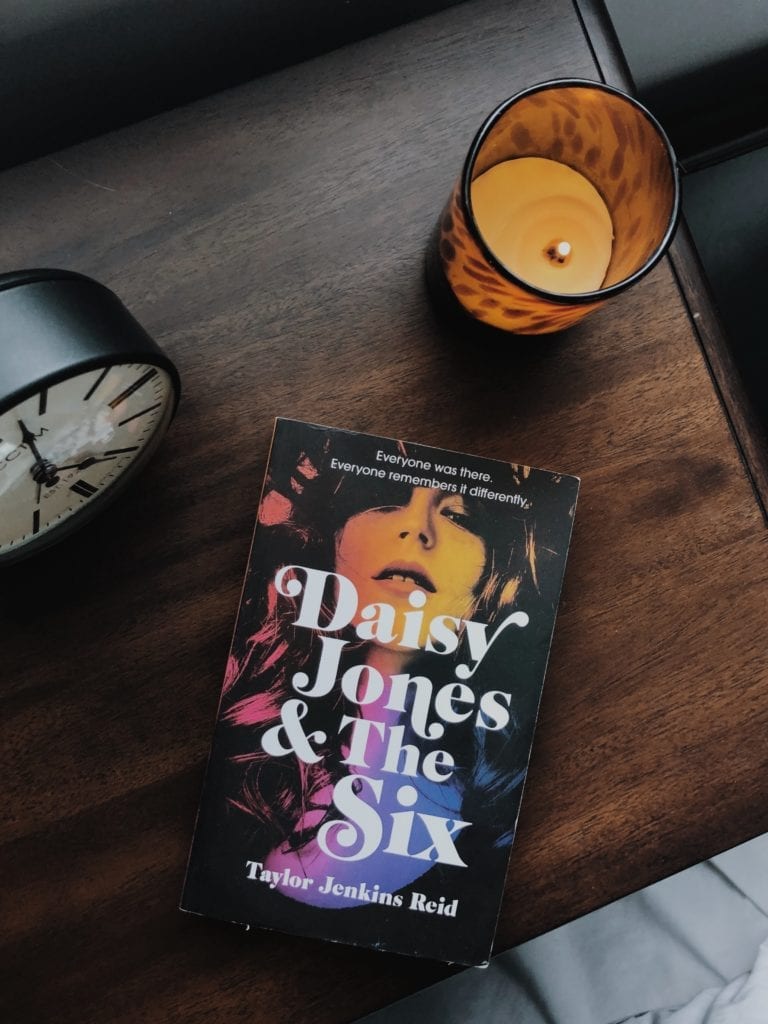
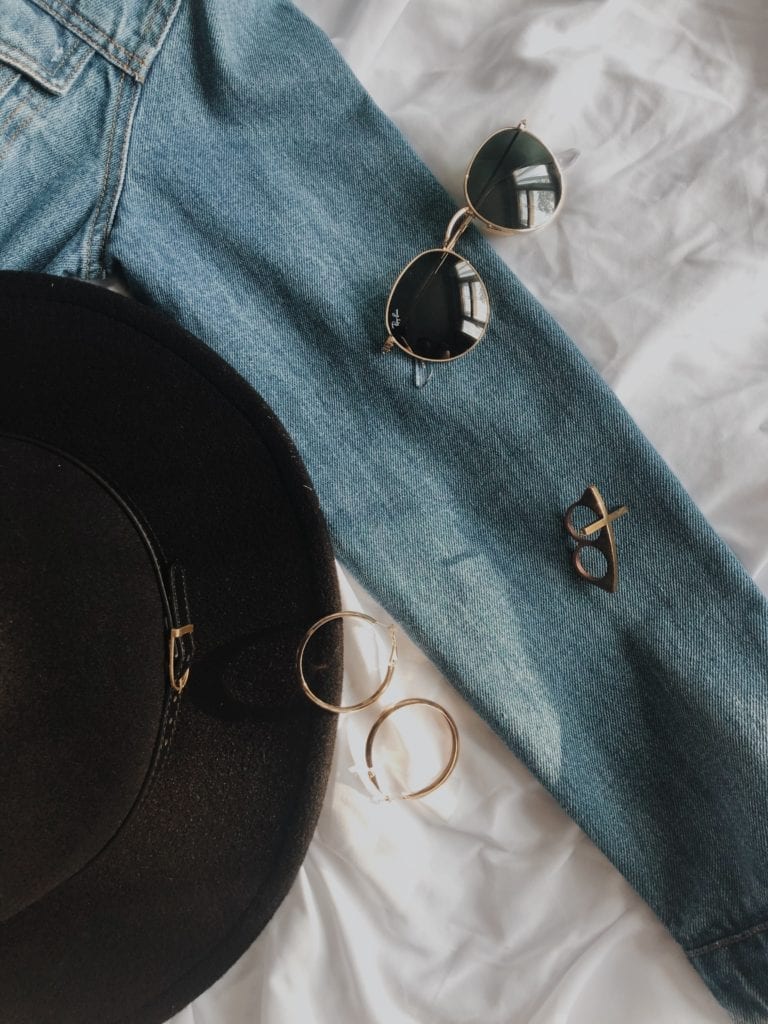
So let’s talk about the best backgrounds to use. There’s the classic marble backdrop (a la 2015), the plain white duvet, a nice neutral blanket or my personal favourite, a classic wooden background. You can find a whole range of potential backgrounds in the form of wallpaper samples, just rock on down to your local Homebase and pretend you’ve got a whole load of rooms to redecorate.
Picking the right colours
Something to also bear in mind when choosing your background and putting together the whole of your flatlay is the colours you’re featuring. I tend to try and stick to 2-3 main colours to avoid things getting too ~crowded~.
As I mentioned above, make sure your background complements these colours, and aim to keep the colours spread evenly over the frame to keep it looking balanced. It might take a little while of playing around to get it to look right, but you’ll get there. And probably do a little happy dance. Or that was just me…
Theme and adding props
This could arguably be the most important element to putting a pinterest-worthy flatlay together. It might sound odd, but they need to make sense. People have such a short attention span these days when it comes to social media, so you need people to know what your flatlay is about before they even read the caption.
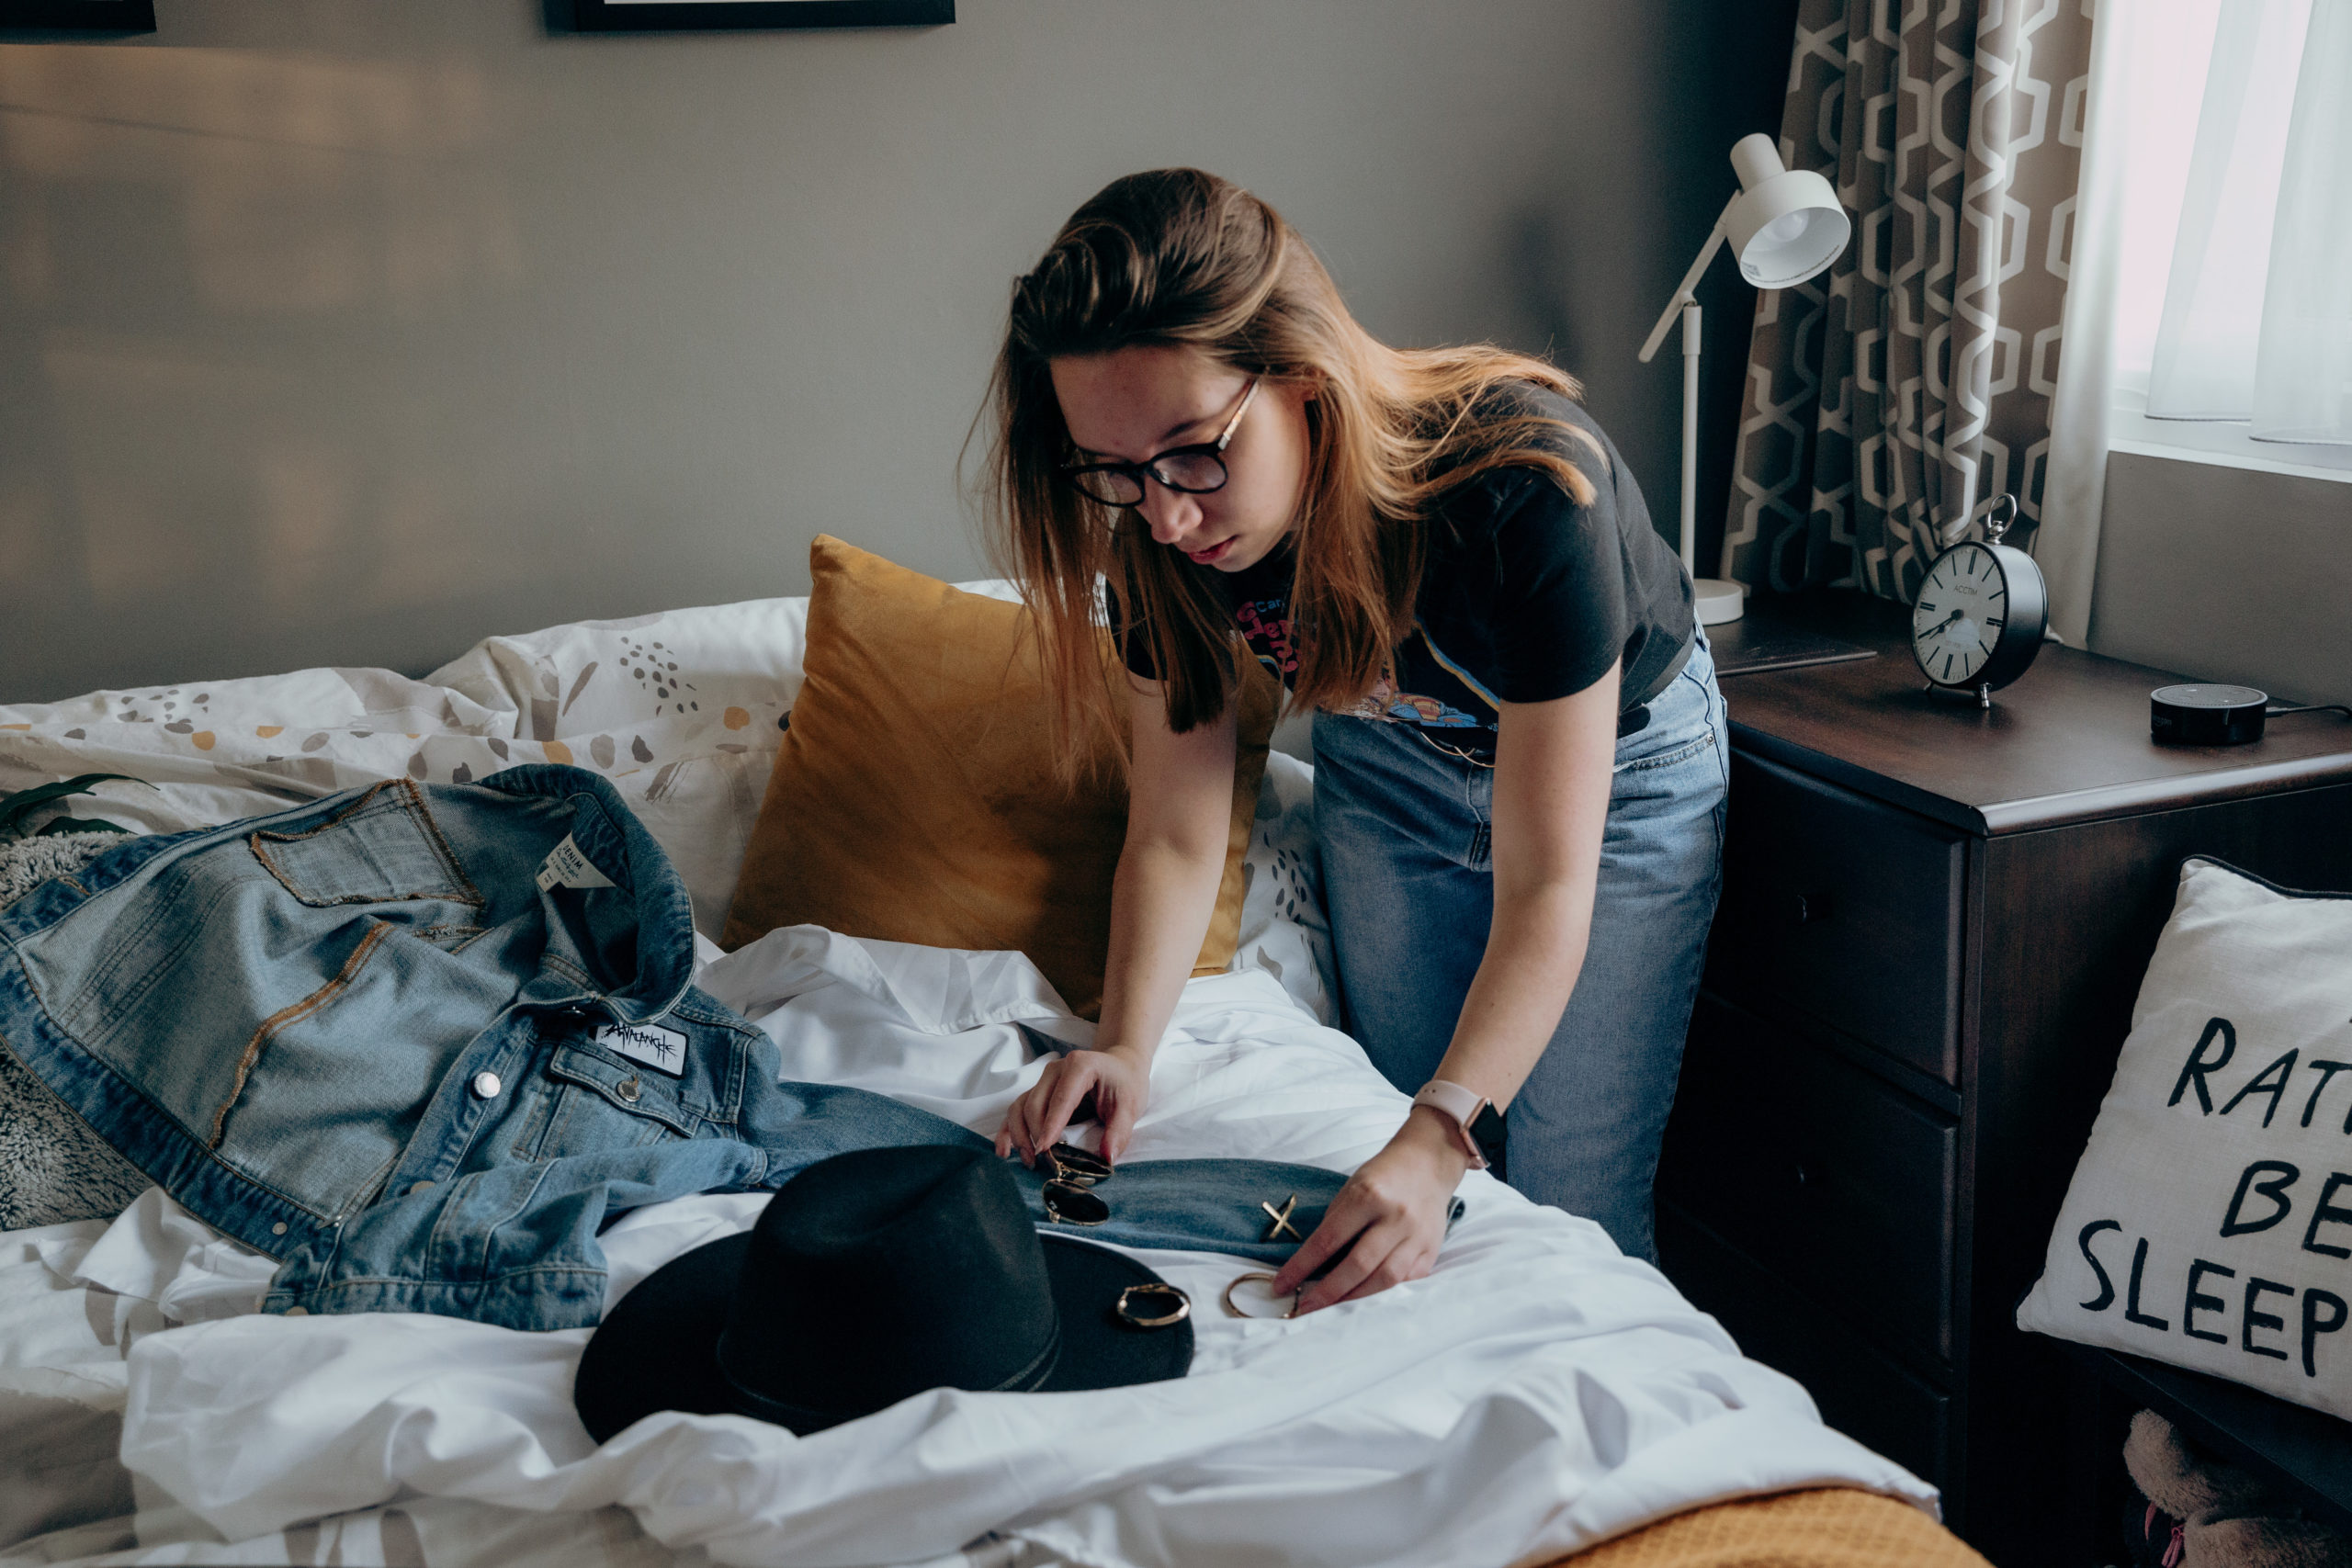
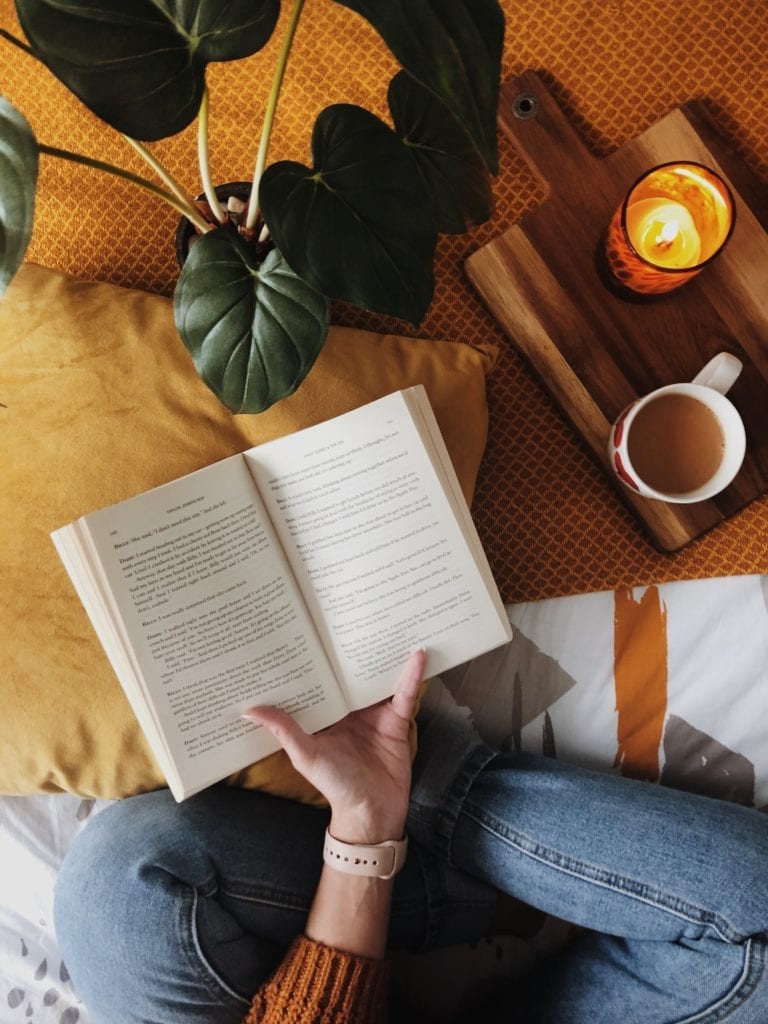
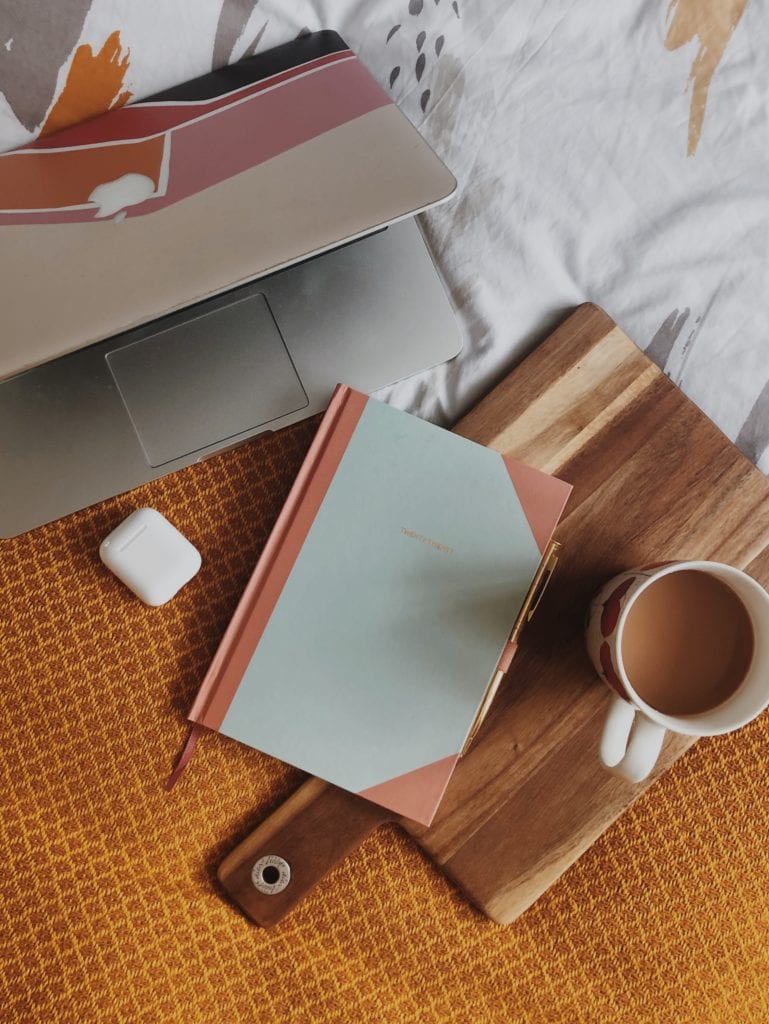
This can be done by both the environment or background, and the props you use. So say your flatlay is based around a lazy Sunday morning, you would have your clean white duvet as the background, with your legs in some cosy socks, your laptop or maybe a book, and a nice cup of tea. Or a long admin day in the office, a shot of your desk and laptop, surrounded by notepads and pens, a candle and maybe a nice desk succulent. It all builds the story.
There are loads of popular props that fill the negative space within the frame and add a little personality (step away from the fairy lights). The ones I find most effective are plants and flowers, which add a bit of softness and naturalness (is that a word??), and hands. Interacting with the items and props in shot gives it a bit more relatability and warmth, makes it feel a bit more REAL.
Taking your flatlay photo
Now let’s make things a bit more practical. You know what you want in your image and you’re ready to start shooting. First thing first, putting it all together. I can’t recommend blue tac or little wooden blocks enough for setting up a flatlay. This will help them keep everything in place and balanced because everything seems to move as soon as you’ve turned your back. Using small blocks helps level some bits out if they’re sitting on a bit of a slope, and also builds some levels within your shots, creating shadows and a bit more depth.
My final piece of advice is to get yourself up on a chair. Get yourself on some higher ground instead of holding your camera or phone above your head. It will save you SO much time and effort. It sounds obvious, but if you can see what you’re taking a photo of it will make things so much easier. Plus this will help you get that full bird’s eye view and stop you going a bit wonky.
And there you have it – my top 5 flatlay styling and taking tips. As a blogger turned photographer it’s something I’ve been asked about quite frequently, but if you’ve got any questions that I haven’t covered above, let me know here! And if you have a go at putting together your own flatlays, tag me and show me over on Instagram!


While you're here...
I'm Jodie! An alternative and vibrant wedding photographer based in Berkshire.
I'm a crazy cat lady, indie music lover and English Breakfast Tea obsessionist.
When it comes to weddings I love love love all things untraditional. When couples do exactly what they want for their big day - those are my favourites to shoot.
I've shot over 100 weddings in the last few years, so I've learned a trick or two that I've been compiling in this blig!